Introduction
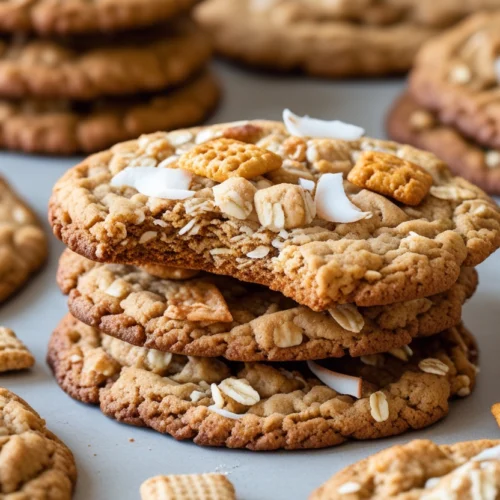
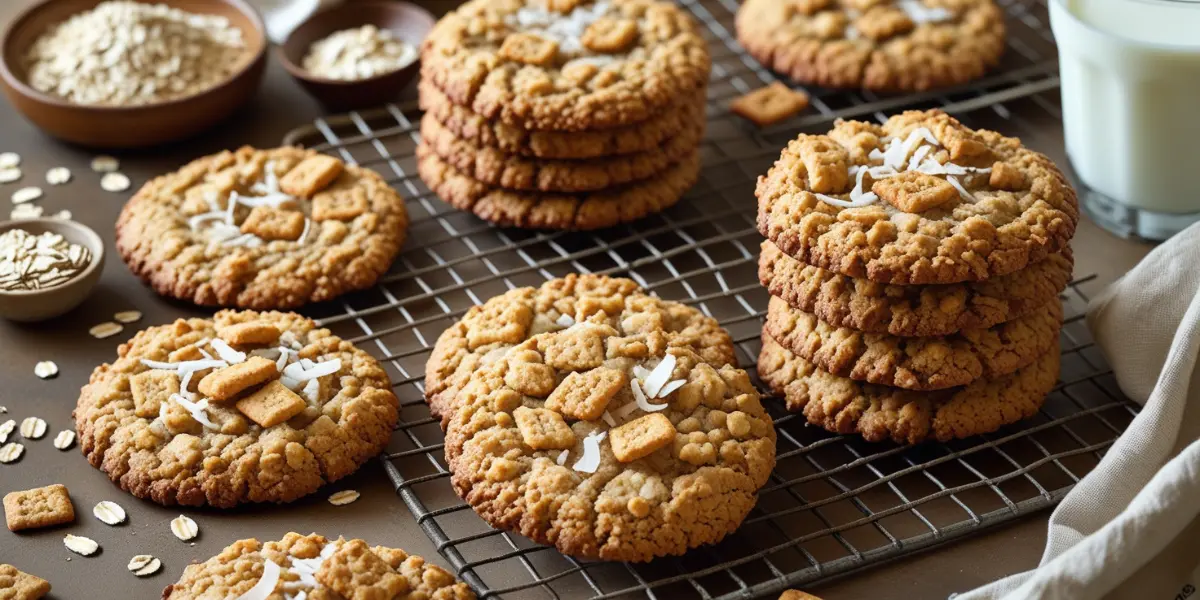
Ranger cookies are a nostalgic treat that combine the best of both worlds: a chewy center and a satisfyingly crunchy texture. Packed with oats, coconut, and crispy cereal, these cookies are a delightful twist on classic oatmeal cookies. Perfect for lunchboxes, snacks, or any cookie lover, this recipe is easy to make and endlessly customizable. Follow this step-by-step guide to bake the perfect batch of ranger cookies.
Table of Contents
Why You’ll Love Ranger Cookies
Texture Explosion
- A perfect balance of soft and crunchy in every bite.
Packed with Flavor
- Oats, coconut, and cereal create a delightful mix of tastes and textures.
Versatile
- Add your favorite mix-ins like chocolate chips or nuts to make them your own.
Ranger Cookies Recipe – 7 Simple Steps

Ranger Cookies Recipe
Equipment
- Mixing bowls
- Stand or hand mixer
- Baking sheets
- Parchment paper
- Cookie scoop or spoon
Ingredients
- 1 cup Unsalted Butter (softened) (225g)
- 1 cup Granulated Sugar (200g)
- 1 cup Brown Sugar (200g)
- 2 Eggs2
- 2 tsp Vanilla Extract
- cups All-Purpose Flour (250g)
- 1 tsp Baking Powder1 tsp
- 1 tsp Baking Soda1 tsp
- 1/2 tsp Salt1/2 tsp
- 2 cups Rolled Oats (200g)
- 1 cup Shredded Coconut (100g)
- 2 cups Crispy Rice Cereal (50g)
- 1 cup Optional: Chocolate Chips or Nuts (150g)
Instructions
- Step 1: Preheat the OvenPreheat your oven to 350°F (175°C). Line baking sheets with parchment paper.
- Step 2: Cream Butter and SugarsIn a large mixing bowl, cream the softened butter, granulated sugar, and brown sugar together until light and fluffy, about 2-3 minutes.
- Step 3: Add Eggs and VanillaBeat in the eggs one at a time, followed by the vanilla extract, until well combined.
- Step 4: Mix Dry IngredientsIn a separate bowl, whisk together the flour, baking powder, baking soda, and salt. Gradually add the dry ingredients to the wet mixture, mixing until just combined.
- Step 5: Fold in Mix-InsGently fold in the oats, shredded coconut, crispy rice cereal, and any optional mix-ins like chocolate chips or nuts.
- Step 6: Scoop and BakeUsing a cookie scoop or spoon, drop rounded tablespoons of dough onto the prepared baking sheets, spacing them about 2 inches apart. Bake for 10-12 minutes, or until the edges are golden brown. The centers may still look slightly soft.
- Step 7: Cool and ServeAllow the cookies to cool on the baking sheets for 5 minutes before transferring them to a wire rack to cool completely. Serve and enjoy!
Tips and Tricks for Perfect Ranger Cookies
Baking Like a Pro
- Room Temperature Butter: Softened butter ensures even mixing and a smooth dough.
- Don’t Overmix: Overmixing can result in dense cookies; mix until ingredients are just combined.
- Cool Between Batches: Let baking sheets cool between batches to prevent spreading.
Creative Variations
- Peanut Butter Ranger Cookies: Add 1/2 cup of peanut butter to the dough for extra flavor.
- Fruit and Nut Mix: Toss in dried cranberries or raisins along with chopped nuts.
- Double Chocolate: Mix in cocoa powder and chocolate chips for a rich, chocolaty version.
How to Serve and Store Ranger Cookies
Serving Suggestions
- Pair with a glass of cold milk or a hot cup of coffee for a comforting treat.
- Include in lunchboxes for a delightful homemade snack.
- Package in decorative bags for gifting during holidays or special occasions.
Storing the Cookies
- Store in an airtight container at room temperature for up to 5 days.
- Freeze the dough balls for up to 3 months; bake directly from frozen, adding an extra 1-2 minutes to the baking time.
Frequently Asked Questions (FAQs)
Can I use quick oats instead of rolled oats?
Yes, but the texture will be slightly less chewy.
How do I prevent the cookies from spreading too much?
Chill the dough for 20-30 minutes before baking to reduce spreading.
Can I make these cookies gluten-free?
Yes, substitute the all-purpose flour with a gluten-free flour blend.
Conclusion
Ranger cookies are the perfect blend of chewy, crunchy, and sweet, making them an irresistible treat for any occasion. With their customizable mix-ins and easy preparation, they’re sure to become a household favorite. Follow this recipe for a deliciously nostalgic cookie that’s perfect for sharing (or keeping all to yourself). Happy baking!


