Introduction
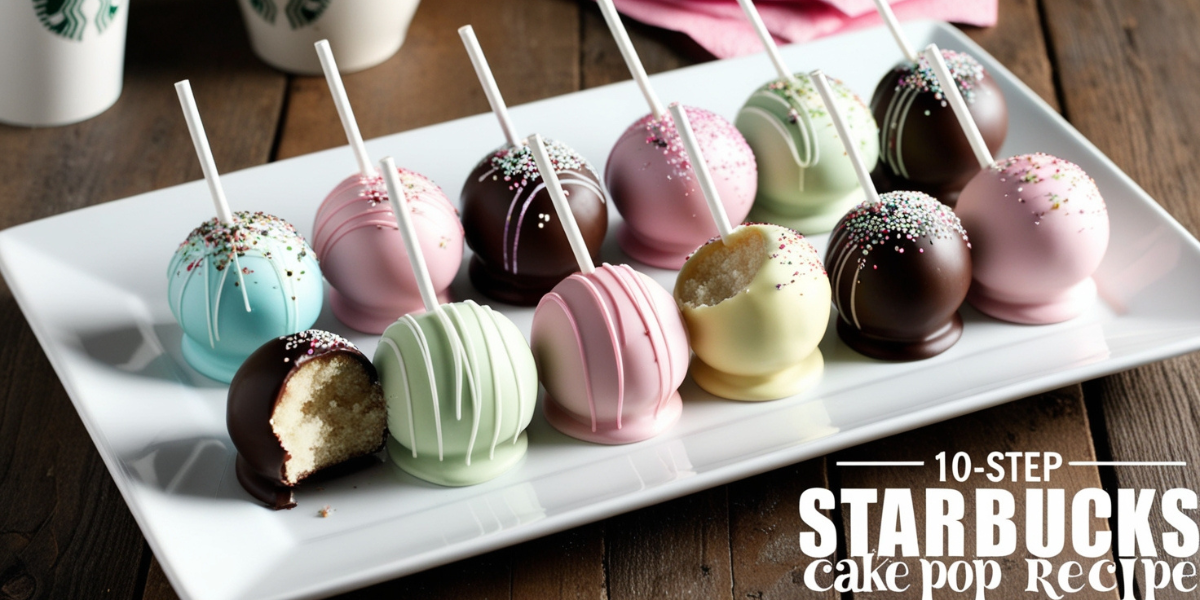
Who doesn’t love a Starbucks cake pop? These bite-sized, perfectly sweet treats have become a favorite for coffee lovers and dessert enthusiasts alike. Their soft cake interior, coated in a luscious candy shell, makes them irresistible. The good news? You don’t have to visit Starbucks to enjoy them. In this guide, you’ll learn how to recreate these iconic cake pops at home, complete with tips for customizing flavors and decorations to suit any occasion.
Table of Contents
What Makes Starbucks Cake Pops Special?
Perfectly Sized Treats
- Small and portable, they’re ideal for snacking or satisfying your sweet tooth on the go.
Irresistible Texture and Flavor
- A moist cake interior covered with a smooth candy coating creates the perfect bite.
Customizable
- From classic vanilla to decadent chocolate or seasonal flavors, the possibilities are endless.
Starbucks Cake Pop Recipe – 10 Easy Steps
Ingredients You’ll Need

Starbucks Cake Pop
Equipment
- Mixing bowls
- Baking sheet
- Parchment paper
- Microwave-safe bowl or double boiler
- Cake pop stand or styrofoam block
Ingredients
- 3 (about 1 cake) cups Prepared Cake (any flavor, crumbled)
- 1/3 cup Frosting (matching or complementary flavor)
- 2 (340g) cups Candy Melts (any color)
- 20-25 Lollipop Sticks
- Sprinkles or Decorations As desired
- Optional: Food Coloring For customizing candy melts
Instructions
- PreparationBake and cool your favorite cake recipe (or use a store-bought cake).Line a baking sheet with parchment paper.
- Crumbling the CakeIn a large mixing bowl, crumble the cake into fine crumbs using your hands or a fork.
- Mixing with FrostingAdd the frosting to the crumbled cake and mix until the texture resembles a moldable dough. Start with 1/3 cup and add more if needed.
- Forming Cake BallsScoop out small portions of the mixture (about 1 tablespoon) and roll into smooth balls. Place them on the prepared baking sheet.
- ChillingRefrigerate the cake balls for 30 minutes or until firm.
- Melting Candy CoatingMelt the candy melts in a microwave-safe bowl or double boiler, stirring until smooth. Add food coloring if desired.
- Inserting SticksDip the tip of each lollipop stick into the melted candy coating, then insert it into a cake ball about halfway through. This helps secure the stick.
- Coating the Cake PopsDip each cake pop into the melted candy coating, rotating to coat evenly. Allow excess coating to drip off and decorate with sprinkles or other toppings before the coating sets.
- SettingPlace the cake pops upright in a stand or styrofoam block to set. Once hardened, they’re ready to enjoy!
| Ingredient | Quantity |
|---|---|
| Prepared Cake (any flavor, crumbled) | 3 cups (about 1 cake) |
| Frosting (matching or complementary flavor) | 1/3 cup |
| Candy Melts (any color) | 2 cups (340g) |
| Lollipop Sticks | 20-25 |
| Sprinkles or Decorations | As desired |
| Optional: Food Coloring | For customizing candy melts |
Equipment Checklist
- Mixing bowls.
- Baking sheet.
- Parchment paper.
- Microwave-safe bowl or double boiler.
- Cake pop stand or styrofoam block.
Directions
Preparation
- Bake and cool your favorite cake recipe (or use a store-bought cake).
- Line a baking sheet with parchment paper.
Crumbling the Cake
- In a large mixing bowl, crumble the cake into fine crumbs using your hands or a fork.
Mixing with Frosting
- Add the frosting to the crumbled cake and mix until the texture resembles a moldable dough. Start with 1/3 cup and add more if needed.
Forming Cake Balls
- Scoop out small portions of the mixture (about 1 tablespoon) and roll into smooth balls. Place them on the prepared baking sheet.
Chilling
- Refrigerate the cake balls for 30 minutes or until firm.
Melting Candy Coating
- Melt the candy melts in a microwave-safe bowl or double boiler, stirring until smooth. Add food coloring if desired.
Inserting Sticks
- Dip the tip of each lollipop stick into the melted candy coating, then insert it into a cake ball about halfway through. This helps secure the stick.
Coating the Cake Pops
- Dip each cake pop into the melted candy coating, rotating to coat evenly. Allow excess coating to drip off and decorate with sprinkles or other toppings before the coating sets.
Setting
- Place the cake pops upright in a stand or styrofoam block to set. Once hardened, they’re ready to enjoy!
Tips and Tricks for Perfect Starbucks Cake Pops
Baking Like a Pro
- Don’t Overdo the Frosting: Too much frosting can make the mixture too soft.
- Chill for Stability: Always refrigerate the cake balls before coating to prevent them from falling apart.
- Smooth Coating: Stir the melted candy coating thoroughly for a smooth finish.
Creative Variations
- Flavors: Try red velvet, lemon, or chocolate cake for different flavor profiles.
- Toppings: Add crushed nuts, coconut flakes, or edible glitter for extra flair.
- Themes: Decorate for holidays, birthdays, or other special occasions with colored candy melts and themed sprinkles.
How to Serve and Store Starbucks Cake Pops
Serving Suggestions
- Display in a cake pop stand for parties or events.
- Wrap individually in cellophane with ribbon for a delightful gift.
- Pair with your favorite coffee or tea for a Starbucks-style experience at home.
Storing Cake Pops
- Store in an airtight container at room temperature for up to 5 days.
- For longer storage, freeze the coated cake pops in an airtight container for up to 3 months. Thaw at room temperature before serving.
Frequently Asked Questions (FAQs)
What makes Starbucks cake pops so moist?
The combination of crumbled cake and frosting creates a moist, dough-like texture that’s perfect for forming cake pops.
Can I use homemade cake and frosting?
Absolutely! Homemade components allow you to customize flavors and control ingredients.
How do I prevent the coating from cracking?
Ensure the cake balls and melted coating are at similar temperatures before dipping to avoid cracking.
Conclusion
Recreating Starbucks cake pops at home is simpler than you think! With this step-by-step guide, you can make delicious, customizable treats that rival the originals. Whether you’re preparing for a party, gifting to loved ones, or just indulging in a sweet craving, these cake pops are guaranteed to impress. So gather your ingredients, unleash your creativity, and enjoy the sweet satisfaction of making your own Starbucks-style cake pops. Happy baking!


