Introduction
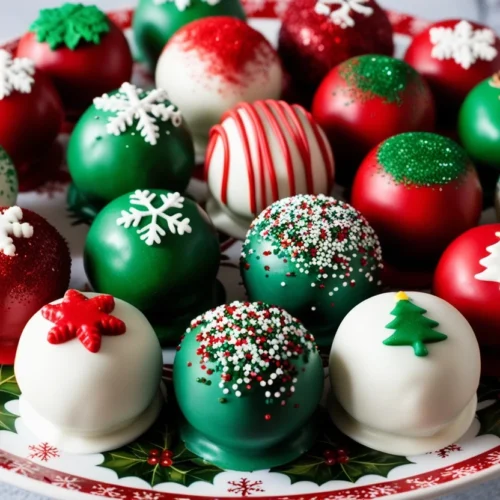
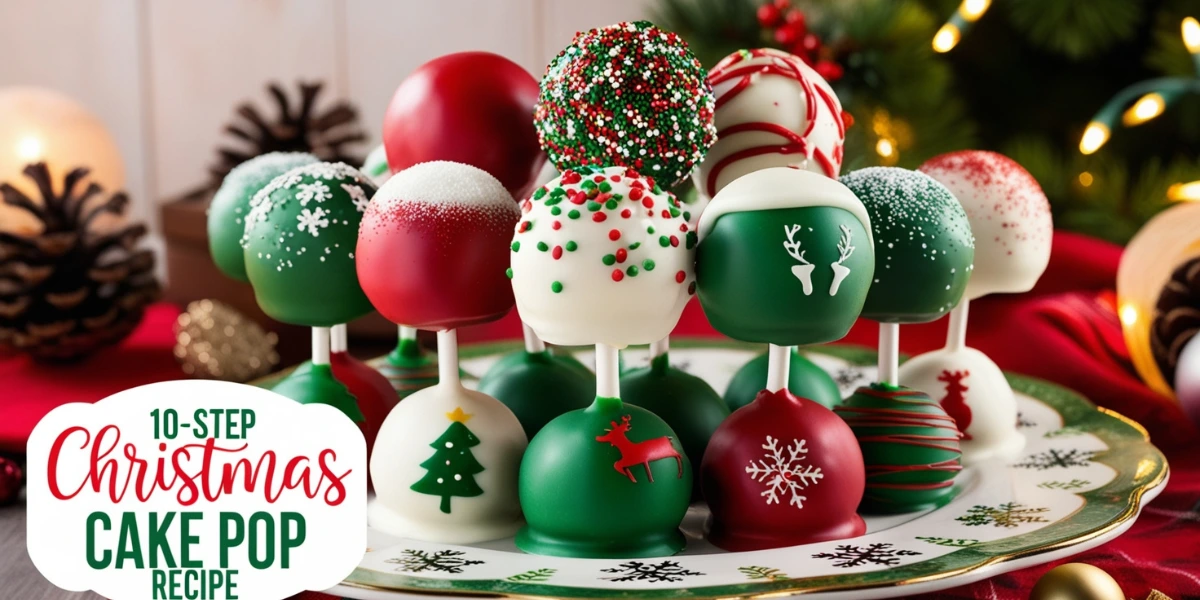
Christmas cake pops are the perfect blend of festive cheer and delicious indulgence. These bite-sized treats are not only visually stunning but also incredibly versatile, making them ideal for holiday parties, gifting, or simply enjoying with family. With their moist cake centers and colorful decorations, Christmas cake pops bring joy to the season. In this guide, you’ll learn how to create these festive delights step by step, with ideas for creative decorations to make your holiday baking truly magical.
Table of Contents
Why Christmas Cake Pops Are Perfect for the Holidays
Festive and Customizable
- Decorate them as snowmen, reindeer, Christmas trees, or classic red-and-green designs.
Easy to Share
- Individually sized and portable, they’re perfect for parties or gifting.
Fun for All Ages
- A delightful activity to enjoy with kids, friends, or family during the holiday season.
Christmas Cake Pop Recipe – 10 Easy Steps
Ingredients You’ll Need

Christmas Cake Pop
Equipment
- Mixing bowls
- Baking sheet
- Parchment paper
- Microwave-safe bowl or double boiler
- Cake pop stand or styrofoam block
- Toothpicks for detail work
Ingredients
- 3 cups Prepared Cake (any flavor, crumbled) (about 1 cake)
- 1/3 cup Frosting (matching or complementary flavor)
- 2 cups Candy Melts (red, green, white) (340g)
- 20-25 Lollipop Sticks
- Sprinkles, Edible Glitter, Decorations As desired
- Optional: Edible Markers For fine details
Instructions
- PreparationBake and cool your favorite cake recipe (or use a store-bought cake).Line a baking sheet with parchment paper.
- Crumbling the CakeCrumble the cake into fine crumbs in a large mixing bowl.
- Mixing with FrostingMix in the frosting until the texture is moldable, like dough. Start with 1/3 cup and adjust if necessary.
- Forming Cake BallsRoll the mixture into small, even balls (about 1 tablespoon each) and place on the baking sheet.
- ChillingRefrigerate the cake balls for 30 minutes or until firm.
- Melting Candy CoatingMelt the candy melts in separate bowls for each color using a microwave or double boiler.
- Inserting SticksDip the tip of each lollipop stick into the melted candy coating, then insert it halfway into a cake ball. Let set.
- Coating the Cake PopsDip each cake pop into the melted candy coating, ensuring even coverage. Tap gently to remove excess. Decorate with sprinkles or other toppings before the coating sets.
- Adding DetailsUse edible markers, toothpicks, or piped candy melts to add fine details like eyes, noses, or holiday patterns. Allow to set completely.
| Ingredient | Quantity |
|---|---|
| Prepared Cake (any flavor, crumbled) | 3 cups (about 1 cake) |
| Frosting (matching or complementary flavor) | 1/3 cup |
| Candy Melts (red, green, white) | 2 cups (340g) |
| Lollipop Sticks | 20-25 |
| Sprinkles, Edible Glitter, Decorations | As desired |
| Optional: Edible Markers | For fine details |
Equipment Checklist
- Mixing bowls.
- Baking sheet.
- Parchment paper.
- Microwave-safe bowl or double boiler.
- Cake pop stand or styrofoam block.
- Toothpicks for detail work.
Directions
Preparation
- Bake and cool your favorite cake recipe (or use a store-bought cake).
- Line a baking sheet with parchment paper.
Crumbling the Cake
- Crumble the cake into fine crumbs in a large mixing bowl.
Mixing with Frosting
- Mix in the frosting until the texture is moldable, like dough. Start with 1/3 cup and adjust if necessary.
Forming Cake Balls
- Roll the mixture into small, even balls (about 1 tablespoon each) and place on the baking sheet.
Chilling
- Refrigerate the cake balls for 30 minutes or until firm.
Melting Candy Coating
- Melt the candy melts in separate bowls for each color using a microwave or double boiler.
Inserting Sticks
- Dip the tip of each lollipop stick into the melted candy coating, then insert it halfway into a cake ball. Let set.
Coating the Cake Pops
- Dip each cake pop into the melted candy coating, ensuring even coverage. Tap gently to remove excess. Decorate with sprinkles or other toppings before the coating sets.
Adding Details
- Use edible markers, toothpicks, or piped candy melts to add fine details like eyes, noses, or holiday patterns. Allow to set completely.
Tips and Tricks for Perfect Christmas Cake Pops
Baking Like a Pro
- Chill for Stability: Refrigerating the cake balls prevents them from crumbling during coating.
- Smooth Coating: Stir candy melts thoroughly and add a small amount of vegetable oil if needed to thin the consistency.
- Use Quality Tools: A cake pop stand or styrofoam block helps the pops set upright without smudging.
Creative Variations
- Snowman Cake Pops: Use white candy melts, draw faces with edible markers, and add candy scarves.
- Christmas Tree Pops: Shape cake balls into cones, coat with green candy melts, and decorate with sprinkles for ornaments.
- Reindeer Pops: Use pretzel antlers, candy eyes, and red candy noses.
How to Serve and Store Christmas Cake Pops
Serving Suggestions
- Arrange in a festive display stand for parties.
- Wrap individually in cellophane with ribbons for holiday gifts.
- Use as edible decorations for holiday tablescapes.
Storing the Cake Pops
- Store in an airtight container at room temperature for up to 5 days.
- Freeze the coated cake pops for up to 3 months. Thaw at room temperature before serving.
Frequently Asked Questions (FAQs)
Can I make Christmas cake pops ahead of time?
Yes! You can prepare the cake balls and store them in the refrigerator for up to 2 days before coating and decorating.
How do I prevent the coating from cracking?
Ensure the cake balls and candy coating are at similar temperatures before dipping.
What flavors work best for Christmas cake pops?
Classic vanilla, chocolate, or festive flavors like gingerbread or peppermint are great options.
Conclusion
Christmas cake pops are the ultimate holiday treat, combining delicious flavors with festive charm. Whether you’re baking for a party, creating edible gifts, or adding a touch of holiday magic to your celebrations, these cake pops are sure to impress. With this simple guide and your creativity, you can craft delightful pops that spread cheer to everyone who takes a bite. Happy baking and happy holidays!


